HTTPS and TLS/SSL certificates ensure website visitors that the website they are visiting has a secure connection.
HTTPS is always active in the Zone web hostings and network traffic is protected with a free Let’s Encrypt certificate. The certificate also covers all alias domains that can be added, both in the main and subdomains. The Let’s Encrypt certificate has a good security level and is renewed automatically.
A brief summary
Checking certificates
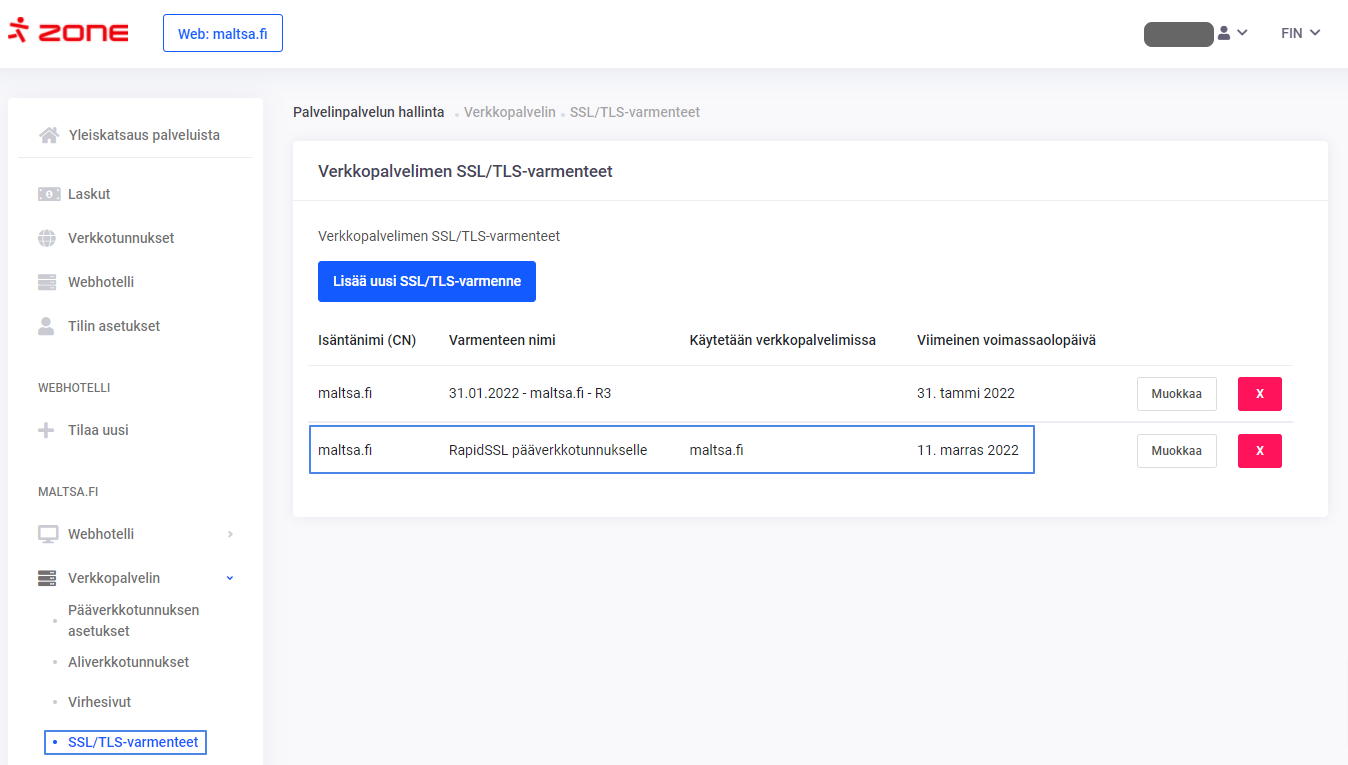
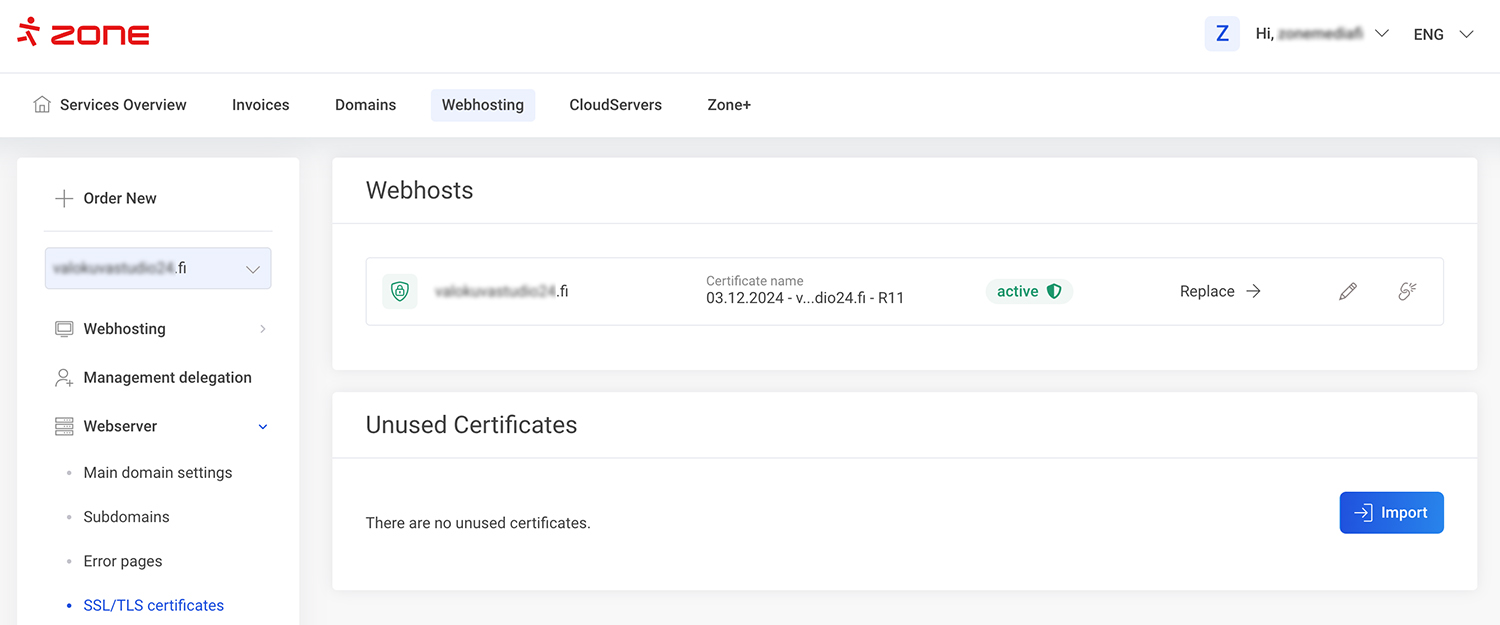
All installed certificates can be checked through Webhosting Management. On the Services overview page, click Webhosting under the server name. After that, select Webserver and SSL/TLS certificates from the list on the left. The page lists the installed certificates, their types and shows where they are used (main or subdomains). The expiry date is also visible.
Let’s Encrypt installation and activation
A new web hosting and managed cloud server (VPS) usually already has Let’s Encrypt installed if it is automatically enabled. If a new subdomain is created, the corresponding Let’s Encrypt certificate is also applied for. The same applies if a new alias is added.
1. However, if for some reason you need to apply for a Let’s Encrypt certificate yourself, you must select Web server >> Let's Encrypt from the server management list.
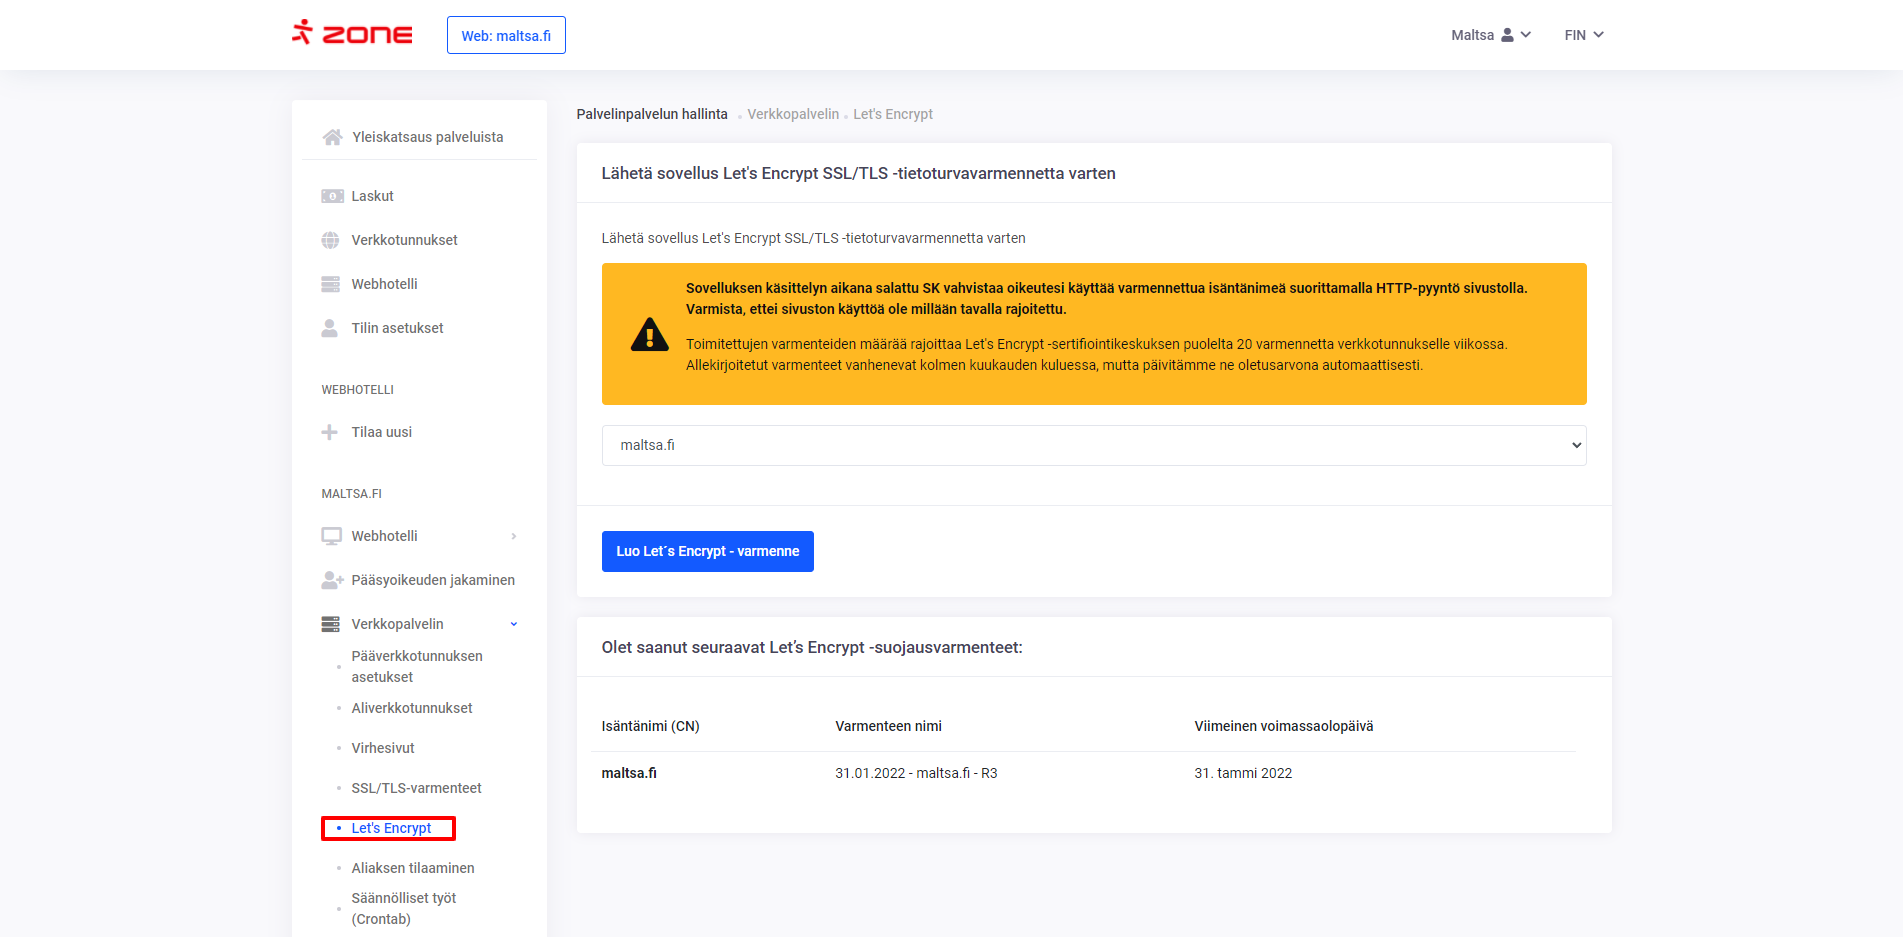
2. On the page, you must select a main or subdomain from the list and click Create Let's Encrypt certificate. Once the certificate is created, it is already installed and will be activated within about ten minutes.
Installation of an external (paid) certificate
If for some reason you need a paid certificate and you have bought it either through Zone or another seller, you have to install and activate it yourself. For that you need:
-
-
-
- Private key. It was created during the certificate order and must be stored securely immediately after the order is placed.
- The certificate itself. The seller sent it by email. If it was purchased through Zone, it is also available on your ZoneID account.
- CA certificate. It can be downloaded from the support site of the certificate issuer (CA – Certificate Authority). Installing it right away is not really mandatory. If you can’t find a suitable one yourself, report it to tuki@zone.fi and our customer support will install it for you.
1. To install, press the Add new SSL/TLS certificate button on the
Web server SSL/TLS certificates page.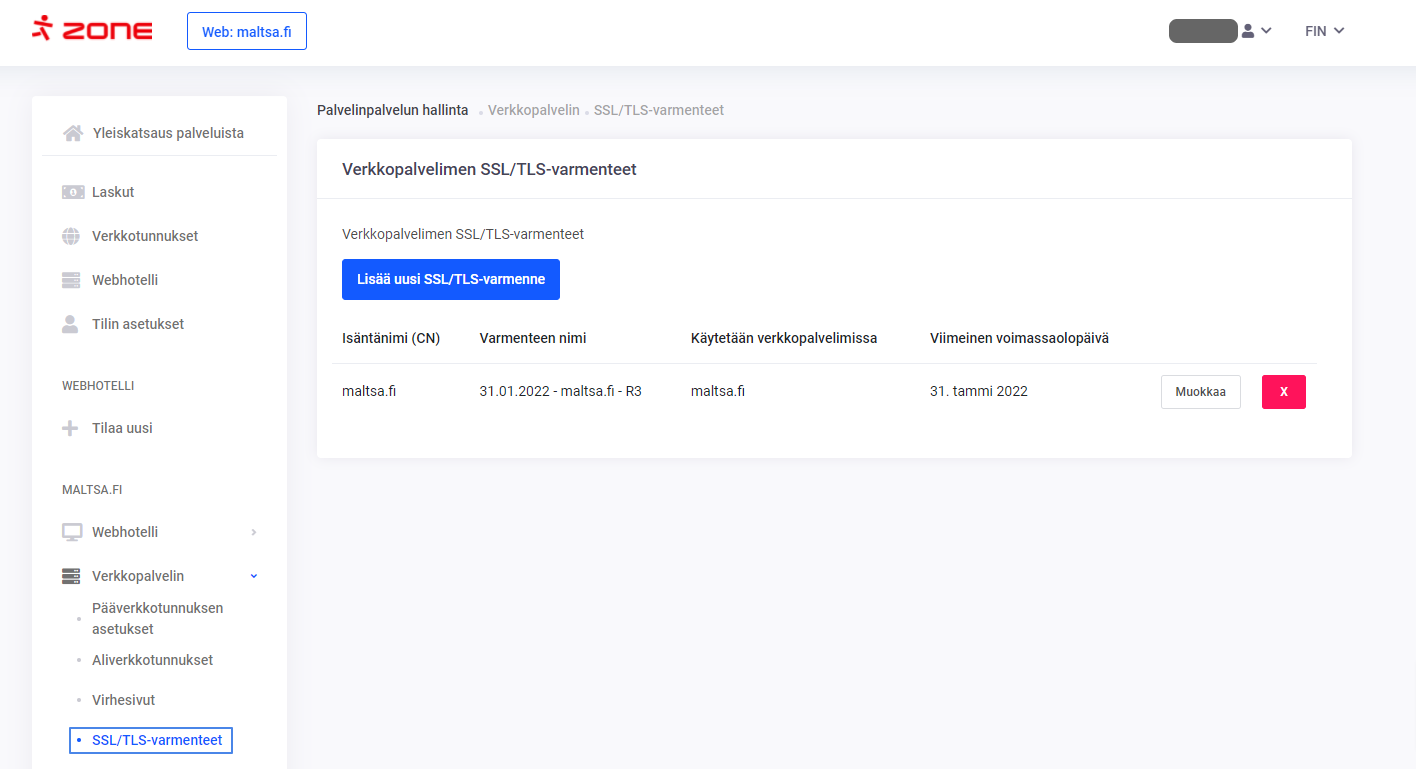
-
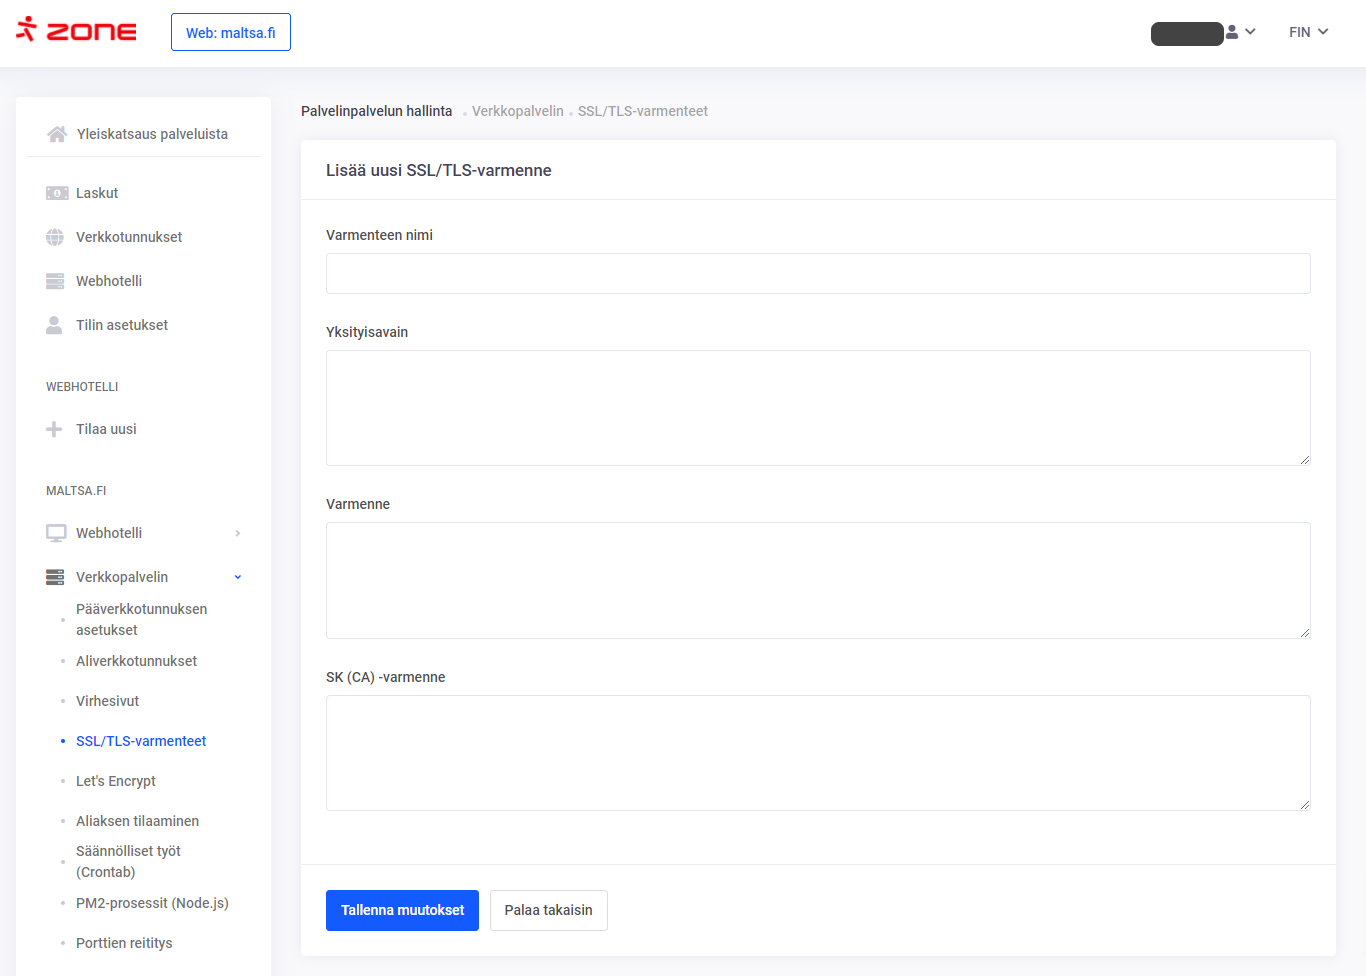
- 2. On the next page, you must enter the name of the certificate
Certificate name. It is just a description so that you know for sure which certificate it is and that information is not shown elsewhere.
Private key,CertificateandCA certificateare copied from the respective files.
-
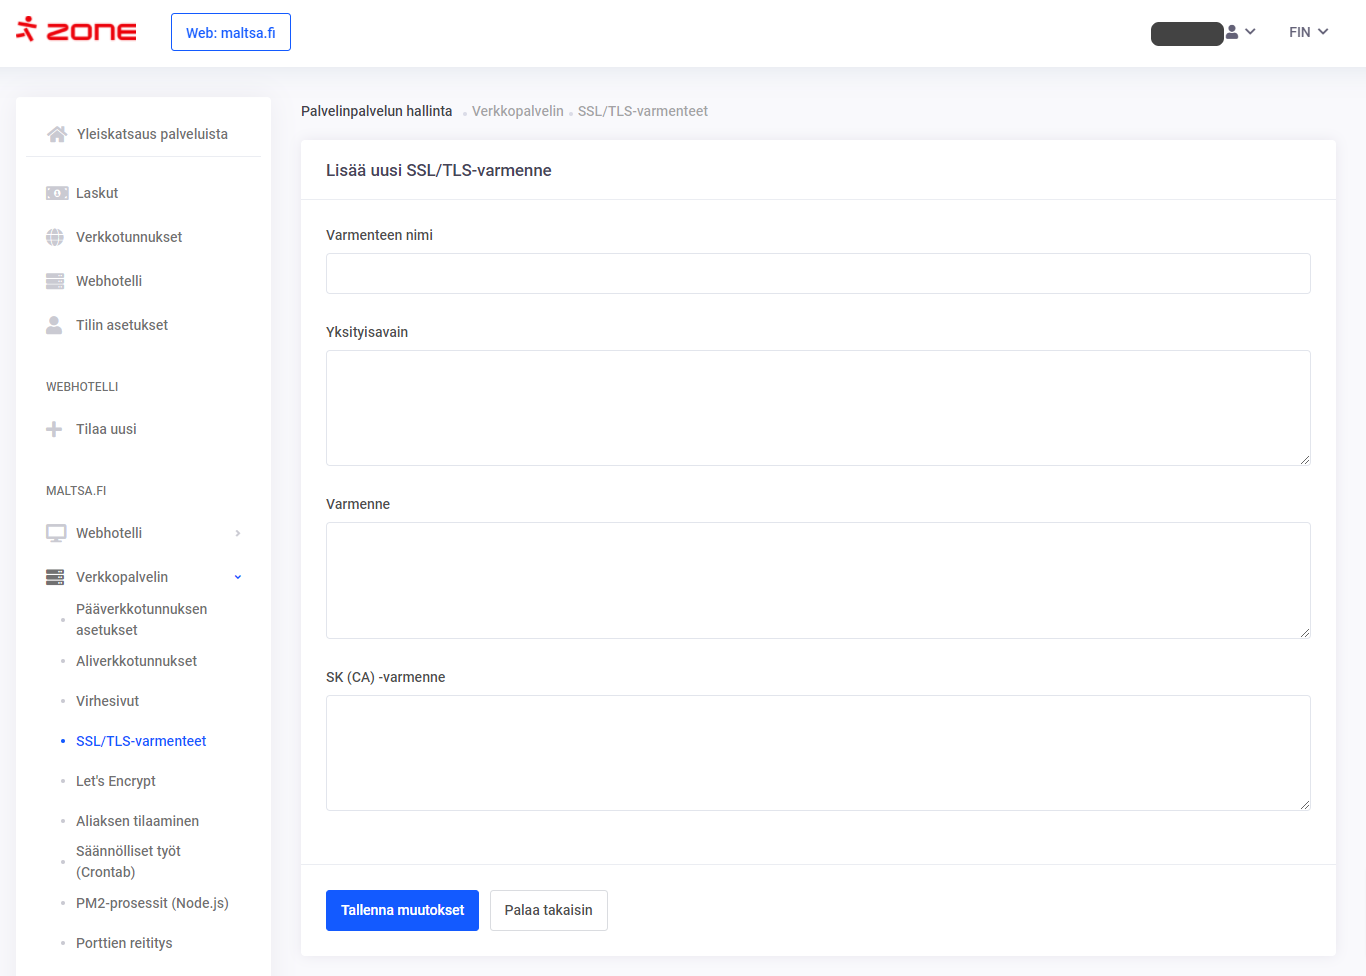 3. Finally, press
 Save changes.
Activation of the external certificate
1. To activate the installed external certificate, select Web server >> Main domain settings (if the certificate is to be used in the main domain) or Web server >> Subdomains (subdomain required) from the menu.
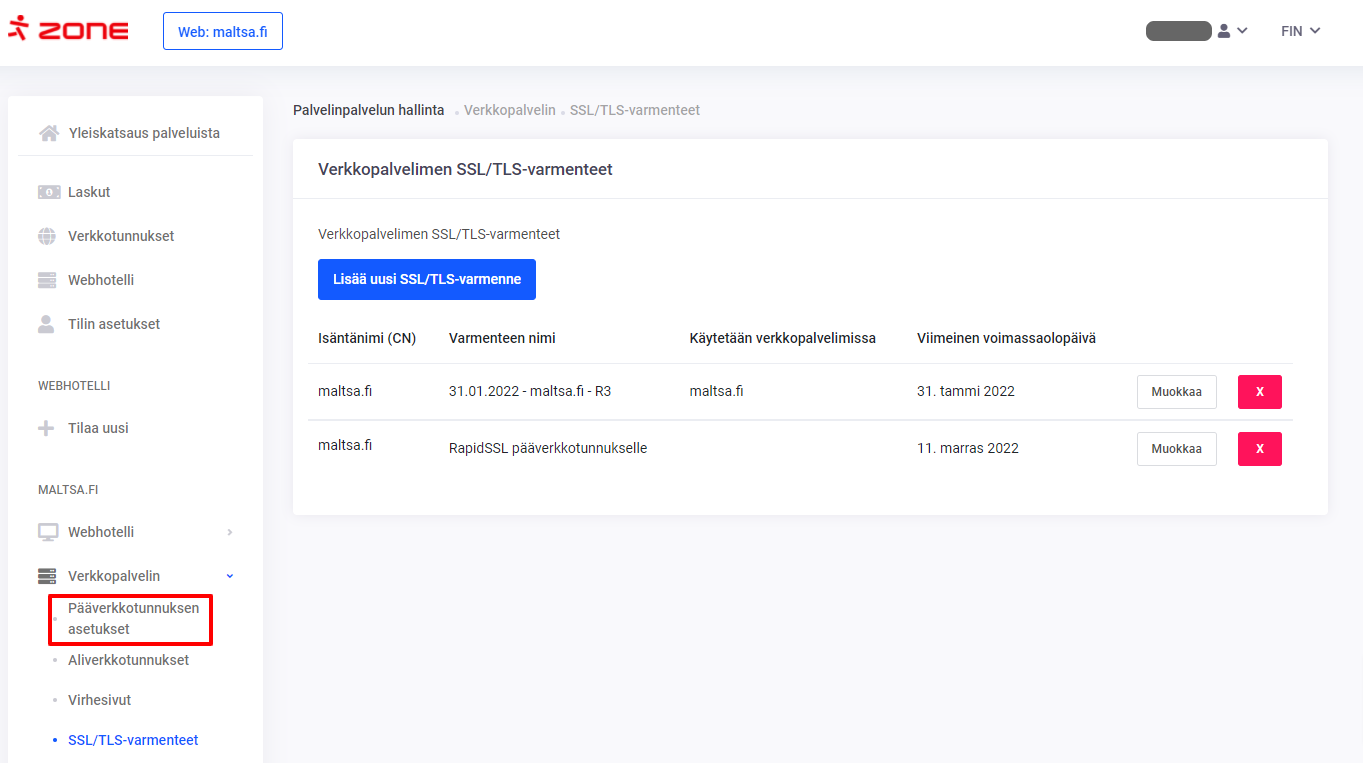
2. Click Edit Editing HTTPS settings. On the next page, select the desired SSL certificate from the list and press Save changes at the bottom of the page.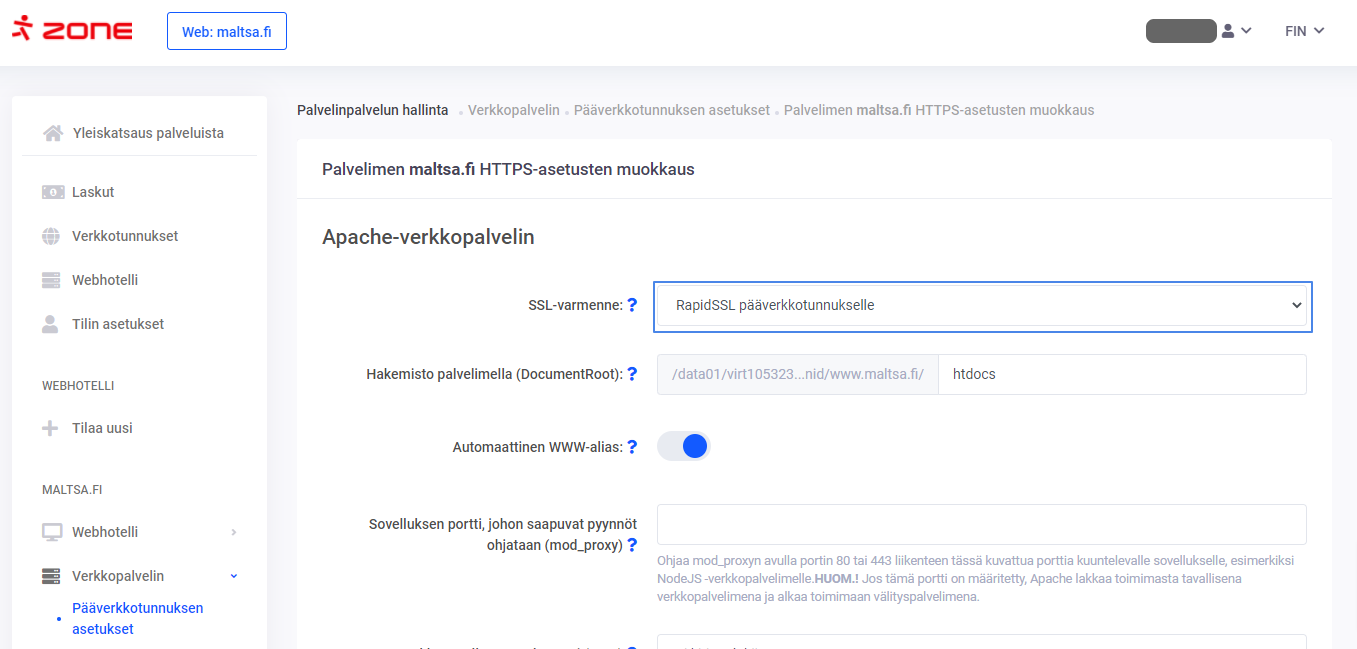
3. The new certificate will be active within about ten minutes.
