WAF – Web Application Firewall protects web applications by filtering and blocking malicious HTTP/S traffic effectively. his firewall safeguards web apps, monitoring traffic and blocking malicious activity to prevent attacks and ensure reliable operation.
Zone server platform utilizes ModSecurity and OWASP ModSecurity Core Rule Set (CRS) firewall rules, activated through the My Zone control panel.
To activate the WAF firewall or change its settings, you must first log into the My Zone control panel.
On the opened page, under subsection of Web and E-mail, click on the virtual server’s name:
On the Web hosting management page choose from the menu: WebServer > Main Domain Settings (or Subdomains) > Modify.
WAF blocked Requests
Requests blocked by ModSecurity will receive from the web server a response with “403 Forbidden” status code.
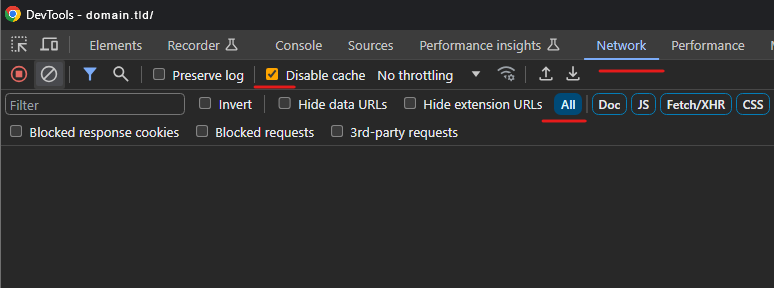
To check if the HTTP request was blocked can be with the web browser’s tool DevTools (it can be opened by pressing F12). In it, go to the Network tab, disable cache and choose all request types:
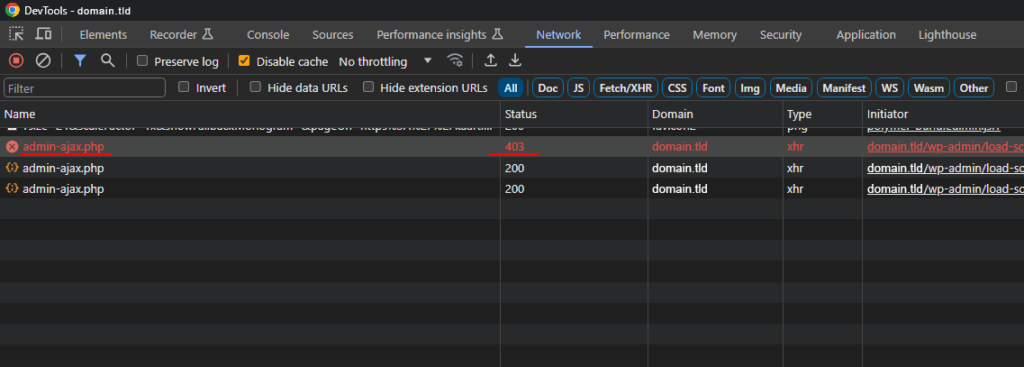
Then repeat the action in the web browser what failed previously and after page is loaded look for a request with status “403”:
Requests blocked by ModSecurity are logged into Apache web server’s error log file apache.ssl.error.log, which is located in the logs directory.
From the file search for the word “ModSecurity” and match the request’s time with a time of failed action. Check that the blocked request’s URI in the log matches the “uri” parameter visible in the DevTools window. The number of the ModSecurity rule is visible in the “id” parameter:
[2023-01-01 00:00:00.123456] [vhost: domain.tld] [security2:error] [pid: 12345] [client 1.2.3.4] ModSecurity: Warning. Operator GE matched 5 at TX:inbound_anomaly_score. [id "123456"] [msg "Inbound Anomaly Score Exceeded (Total Inbound Score: 5 - SQLI=0,XSS=5,RFI=0,LFI=0,RCE=0,PHPI=0,HTTP=0,SESS=0): individual paranoia level scores: 5, 0, 0, 0"] [hostname "domain.tld"] [uri "/wp-admin/admin-ajax.php"]
Apache web server’s log timezone is UTC (+00:00).
Selectively Disabling The Rules
To turn off the selected rules, add the following Apache directive block.
The Apache directive block can be added via My Zone control panel, on the Webhosting page, under the virthost settings of the corresponding master- or subdomain.
To do this, select from the menu: Webserver > Main domain settings (or Subdomains).
Press in the subsection “HTTPS – domain.tld” (where domain.tld is the domain name of the corresponding virthost for which the addition needs to be made): Modify > Apache directives > Add directive block.
ModSecurity’s rule numbers must be separated by a space. Range numbers must be enclosed in quotation marks and separated by a hyphen.
<IfModule mod_security2.c>
    # Disable rules that interfere with the work of the website
    SecRuleRemoveById 123456 "123460-123470"
</IfModule>


